


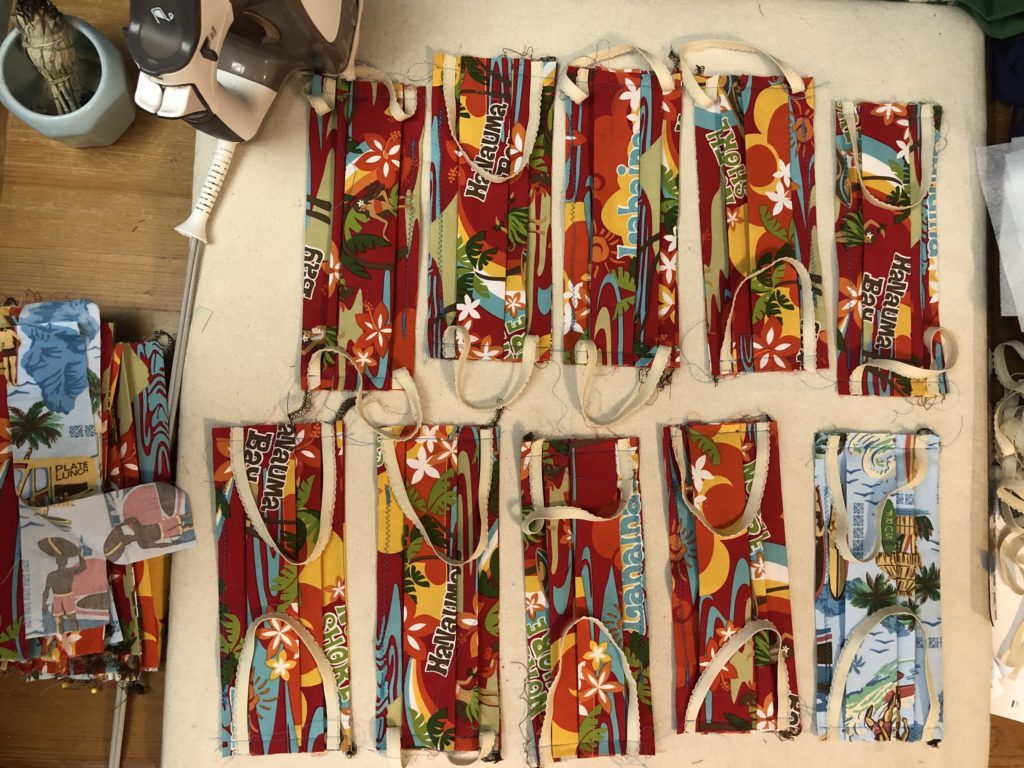
My goal was to make the masks as similar to the paper style personal protection equipment I use in the oncology department. My other goal was to mass produce as many as I could.
Materials needed:
- Cotton fabric,
- elastic 1/4 inch or 1/8 inch polyester elastic works great, but if sourcing is scarce, use what you have. You could also use bias seam tape in place of elastic and tie the masks on.
- Floral wire, is only needed if you wanted the mask to have some stability across the bridge of the nose.
- Fusible Interfacing
Step 1. Pre-wash the cotton fabric you are using

Step 2. You are going to be starting by cutting out rectangles of fabric and interfacing
Large: 9” x 14” for mask, seam finishing strip 2” x 9”, interfacing 8” x 6”. Elastic for L= 9 or 10”
Medium: 8” x 13”, seam finishing strip 2” x 8”, interfacing 7” x 5.5”. Elastic for M= 7 or 8”
Small: 7” x 12”, , seam finishing strip 2” x 7”, interfacing 6” x 5”. Elastic for S=5 or 6”

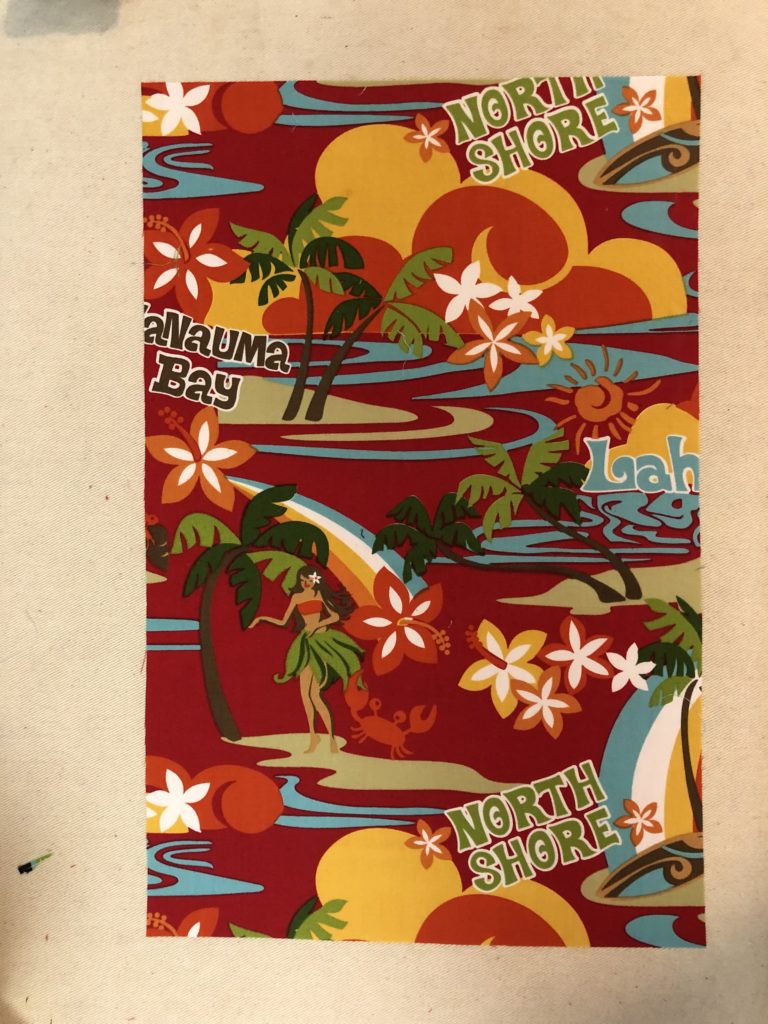
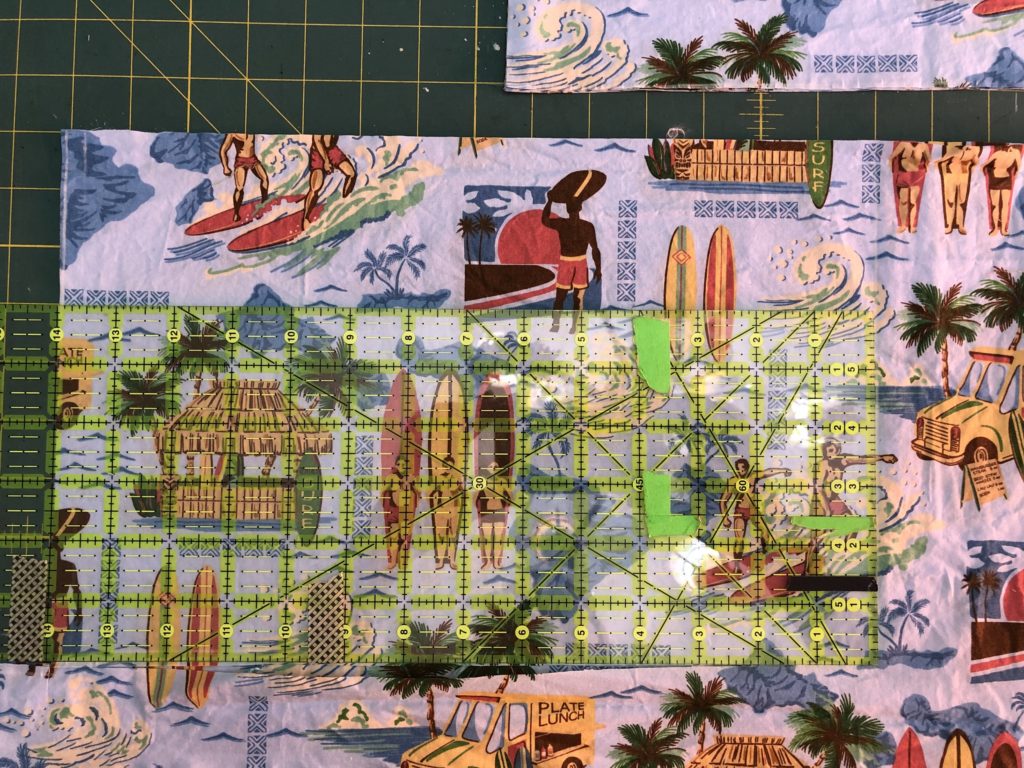
Step 3. Choose what size you are starting with. If you are making one mask just cut one piece of fabric in the desired size. For mass production lay several layers of fabric down. You can put several different pieces on top of each other or even fold the piece of fabric several times. Make sure it’s flat and then cut the rectangle in the desired size. Using a ruler with rotary cutter and a matt will make this process easier. You can mass cut the interfacing this way also.
Step 4. Cut out strips 2” wide by whatever length you need. For mass production cut layers fabric into strips 2” wide, similar to how you did in step 3. Using a ruler with rotary cutter and a matt will make this process easier.
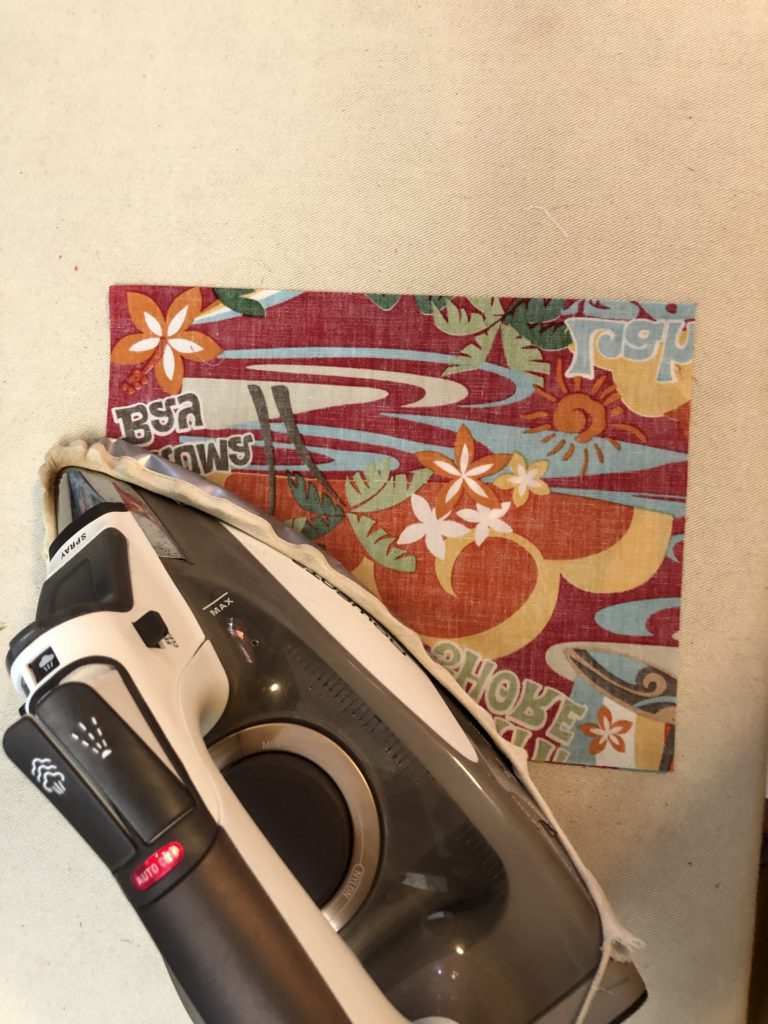
Step 5. Take the rectangle and with the right sides of the fabric together put the short ends together and iron a crease down the middle
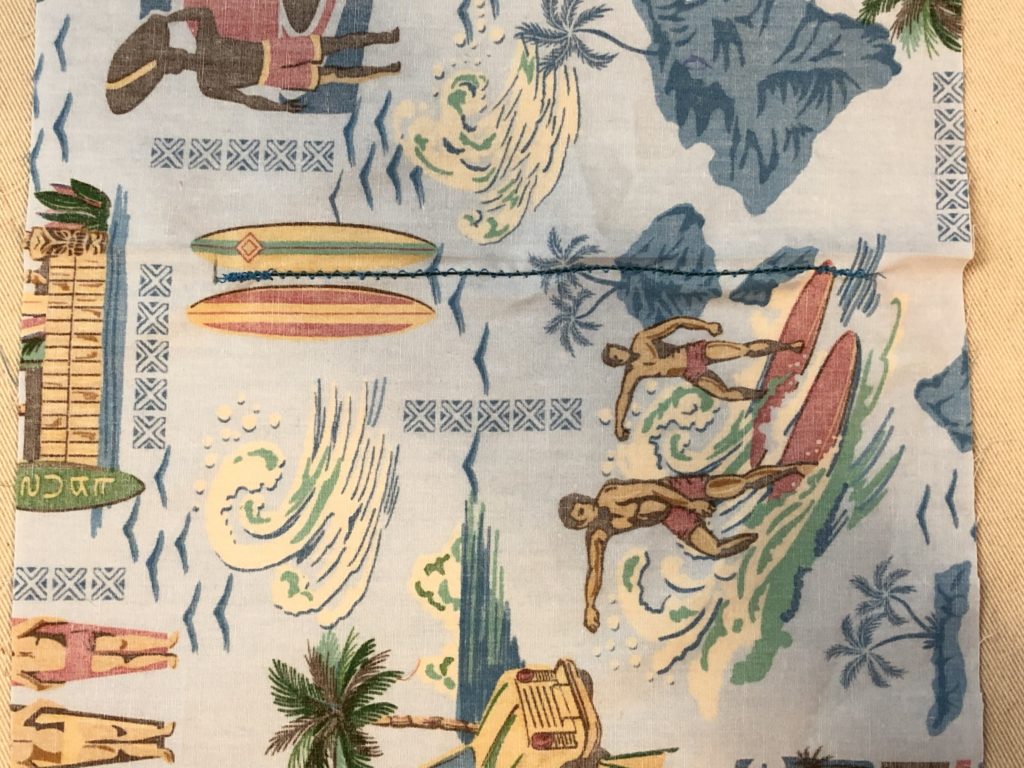
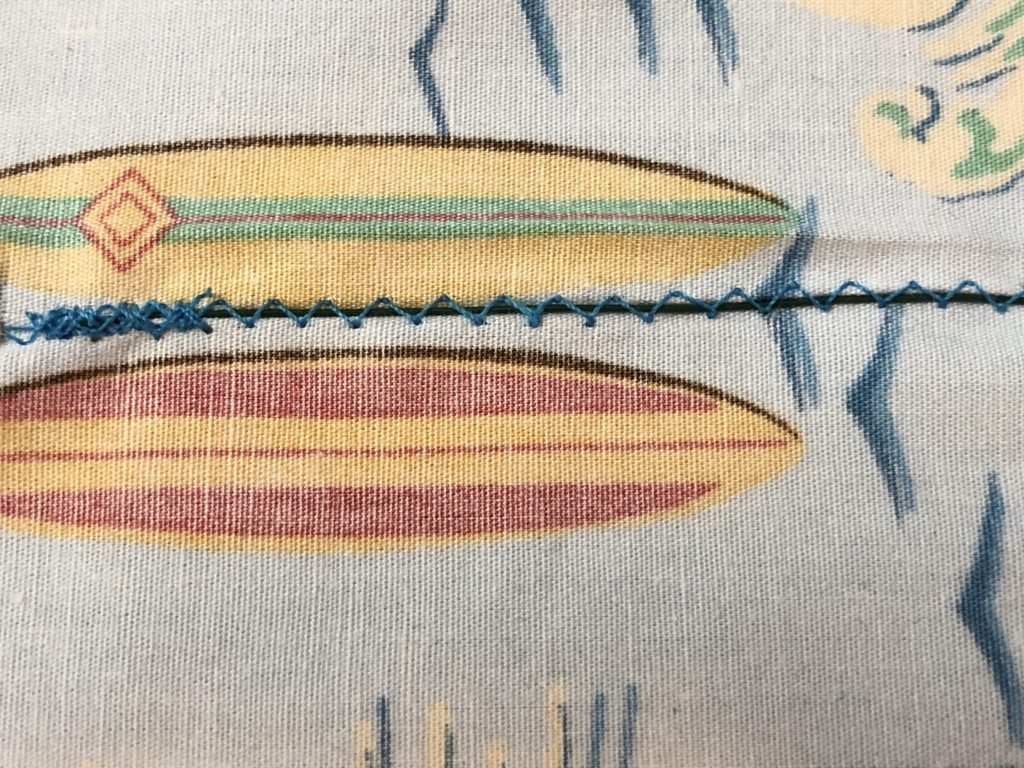
Step 6. Cut 5” of floral wire and couch it (zig zag stich over the wire) onto the fabric about 1/8 of inch down from the crease. Reverse stitching over the beginning and end of the wire to secure it down. If you are mass producing, cut all the wire pieces first and then machine stitch the wire down.
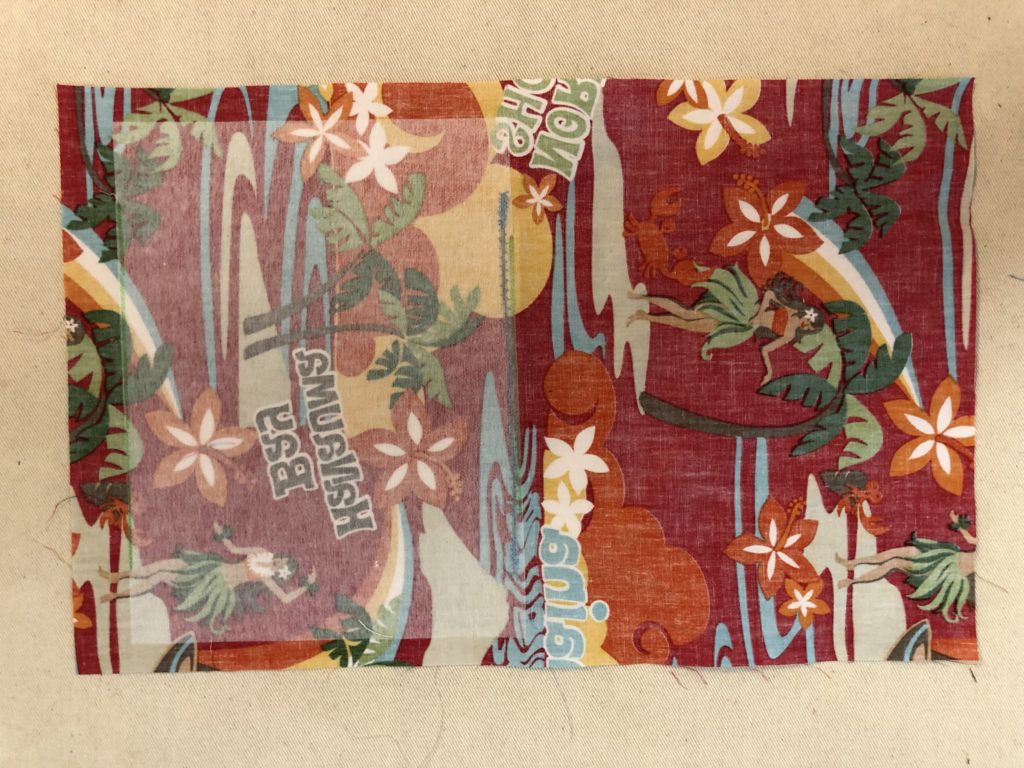
Step 7. Cut fusible interfacing for whatever size you chose for the mask. Butt it up over the wire near the crease and center it leaving room on the left and right sides, and bottom for the seam. Iron the fusible down. This is an extra layer of protection over the wire, and it keeps the pleats crisp.

Step 8. With the right sides facing together and the short ends of the fabric lined up together sew the bottom seam.
Step 9. Turn the mask right side out with the seam at the bottom and the wire at the top. The side with the wire is the outside of the mask, the other side is the inside of the mask.

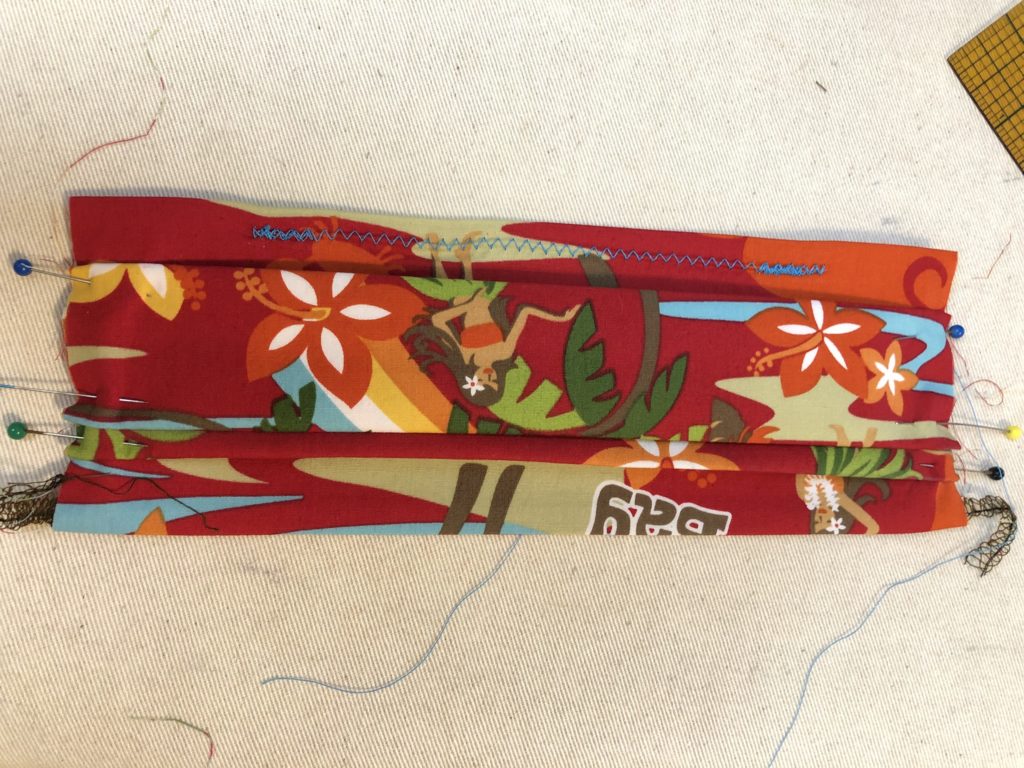
Step 10. Pleat the masks. Start from the top of the mask where the wire is sewn on measure 3/4 of an inch down and make a 1 1/2 “ box pleat with 1/2 “ deep pleats. Pinch one more pleat near the bottom. Iron the pleats flat.
Step 11. Pin the elastic to the raw edges of the masks. If you are making just one for yourself safety pin some elastic on and try it on. Different elastics have different levels of stretch. Find what is comfortable for you.
Step 12. Sew the elastic and the pleats down
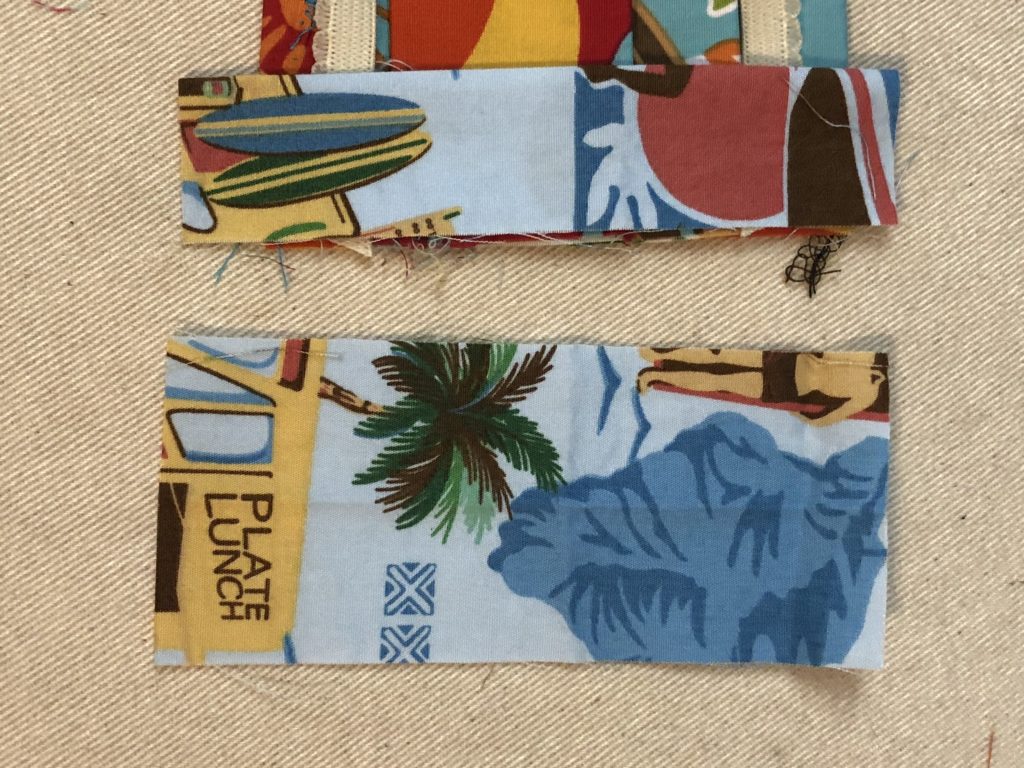
Step 13. Take a seam finishing strip and fold it in half on its long edge with the raw edge together. Lay the raw edges of the mask and the seam finishing strip together. There will be about a 1/2 inch over each edge at this point. Sew the seam finishing strip down over the elastic, just behind the first seam in step 11.
Step 14. Trim the seams down and fold over the seam finishing strip toward the back tucking in the raw edges and sew it down.
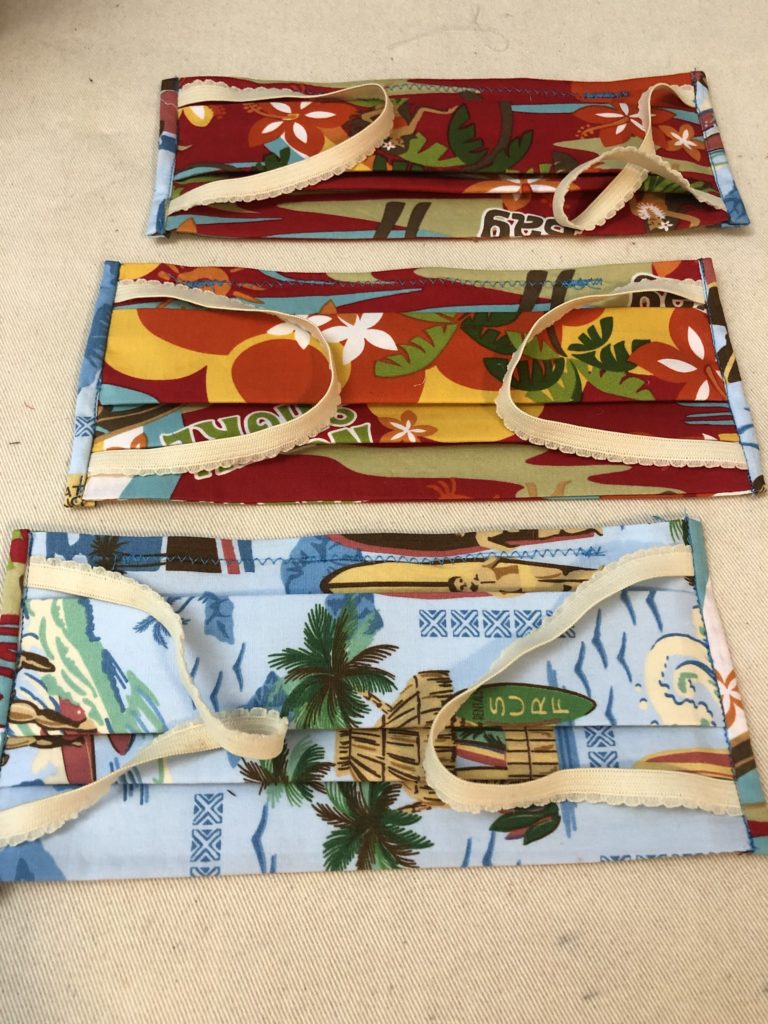
Step 15. Enjoy the mask! Or donate it.
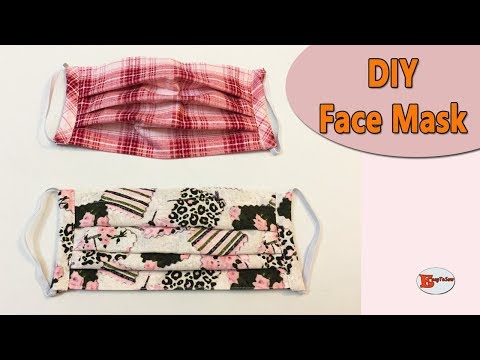
There are lots of mask tutorials and patterns to try. These are some of my video inspirations:

https://freesewing.org/blog/facemask-frenzy/
Comments
comments
Pingback: Mask Making Efforts – Kupuna Kokua()